
A. Import
You can import contentscontent either from wordpressWordPress or an uploaded file.
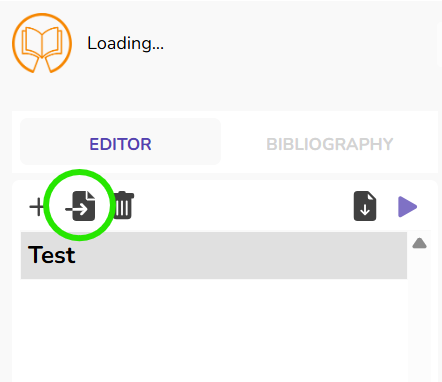
To start the import wizard open any project and click the "Import" button on the lowertop left.left corner.
You can now choose between different import options in the openingdialog window:
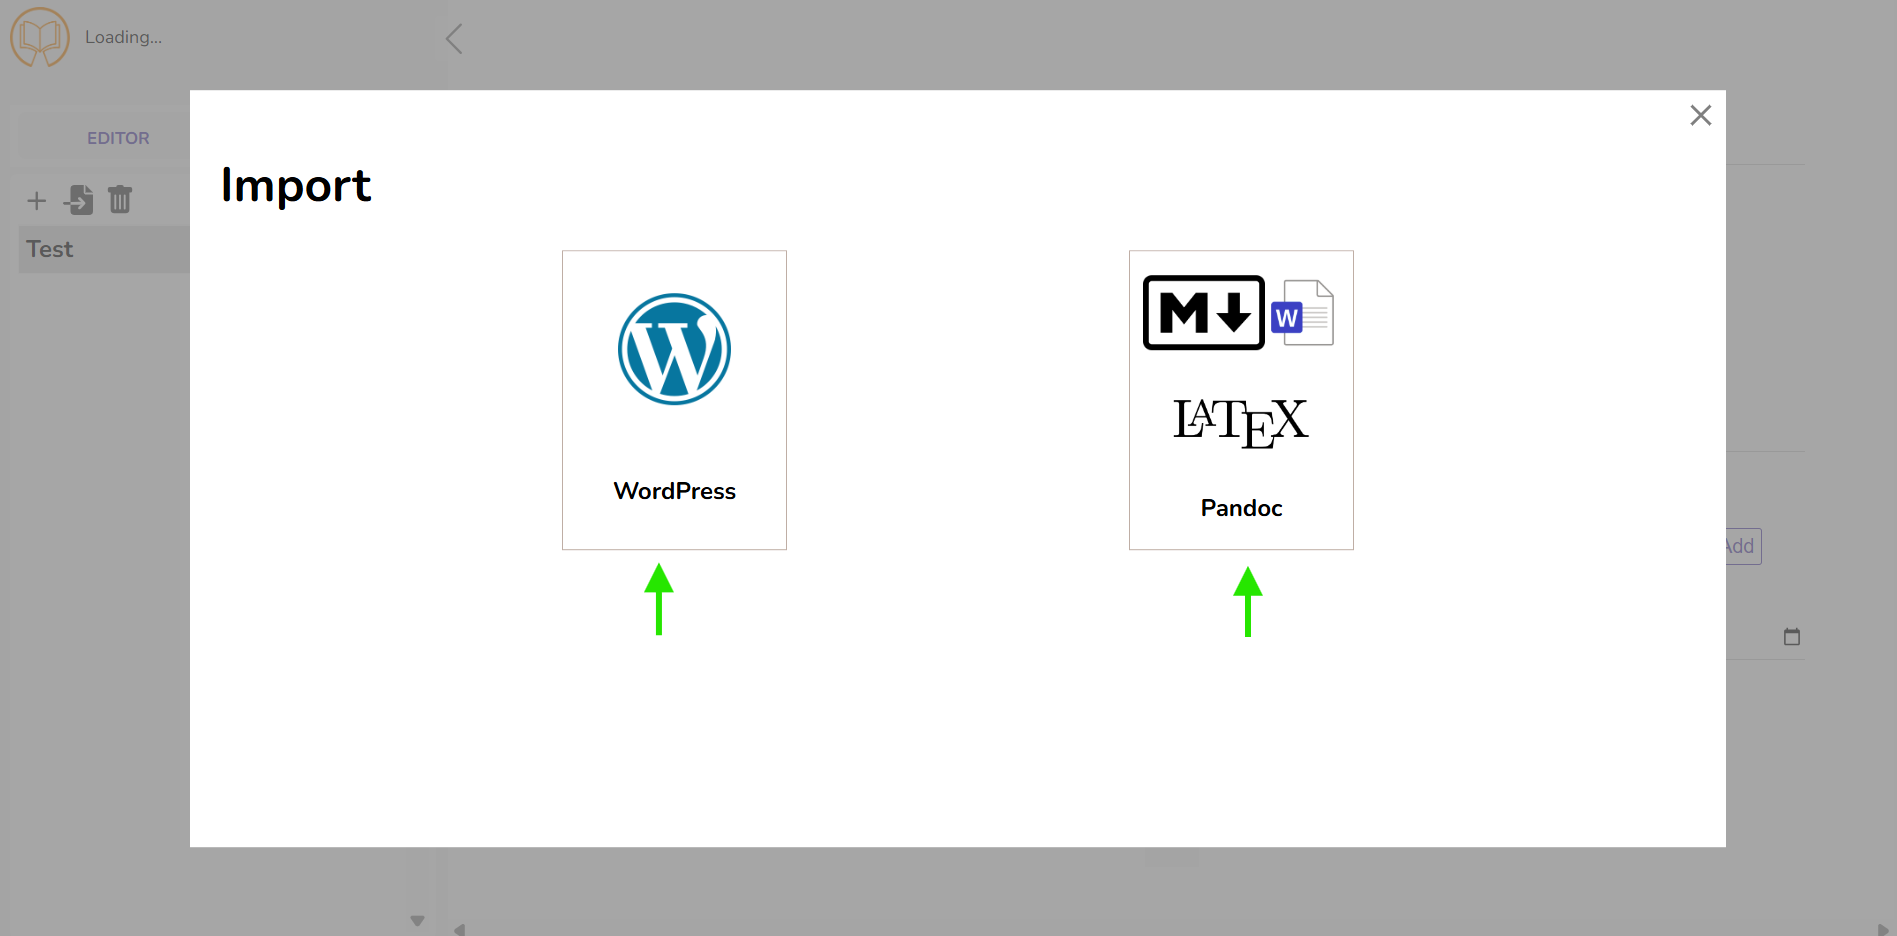
1. Import from Wordpress
You may choose tocan import posts either via a list of links or by filtering all posts onfrom a specified wordpressWordPress host.
a) Import by Links
Choose "WordPress" ->→ "Import by Links" in the import wizard and paste the links to all articles you wish to import into the input area. Add one link per line. This might then look likeas this.follows:
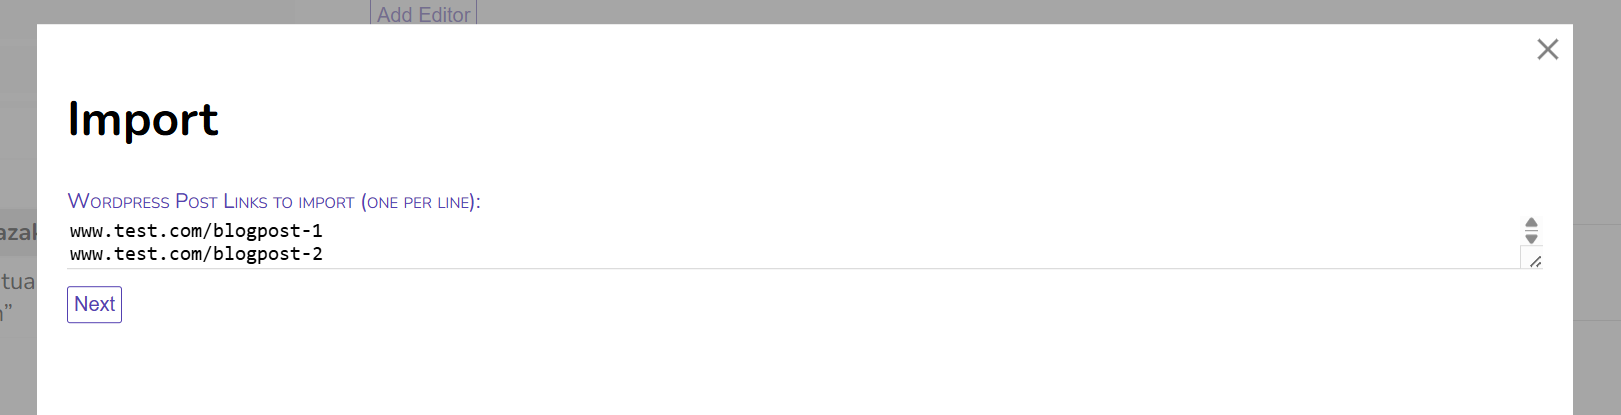
Currently, only direct links to posts can be processed. Links to categories will not work, for imports based on WordPress categories, use the filter importoption tooldescribed for category imports for now.below.
Import Settings
After you inserting your links, you can adjust the import settings. The options are largely self-explanatory, for a brief overview, see the section below.
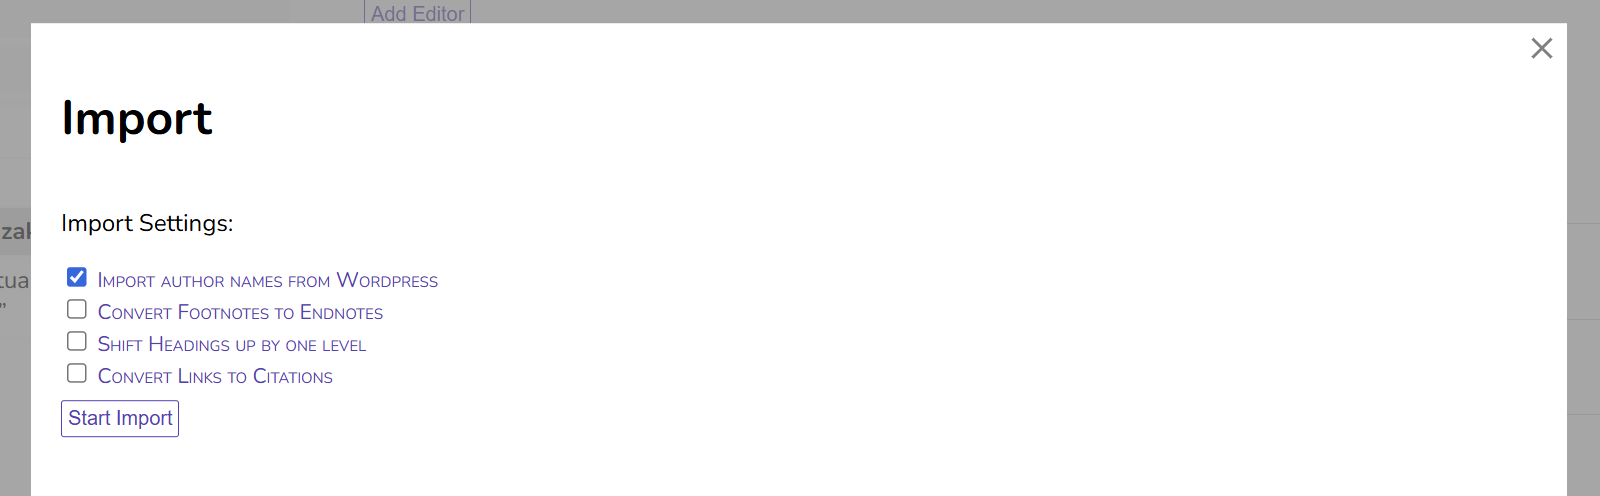
WithClick "Start Import" to import the contents will be importedcontent into youyour Publish Goods project.
b) Import all posts matching a filter
 Choose "WordPress"
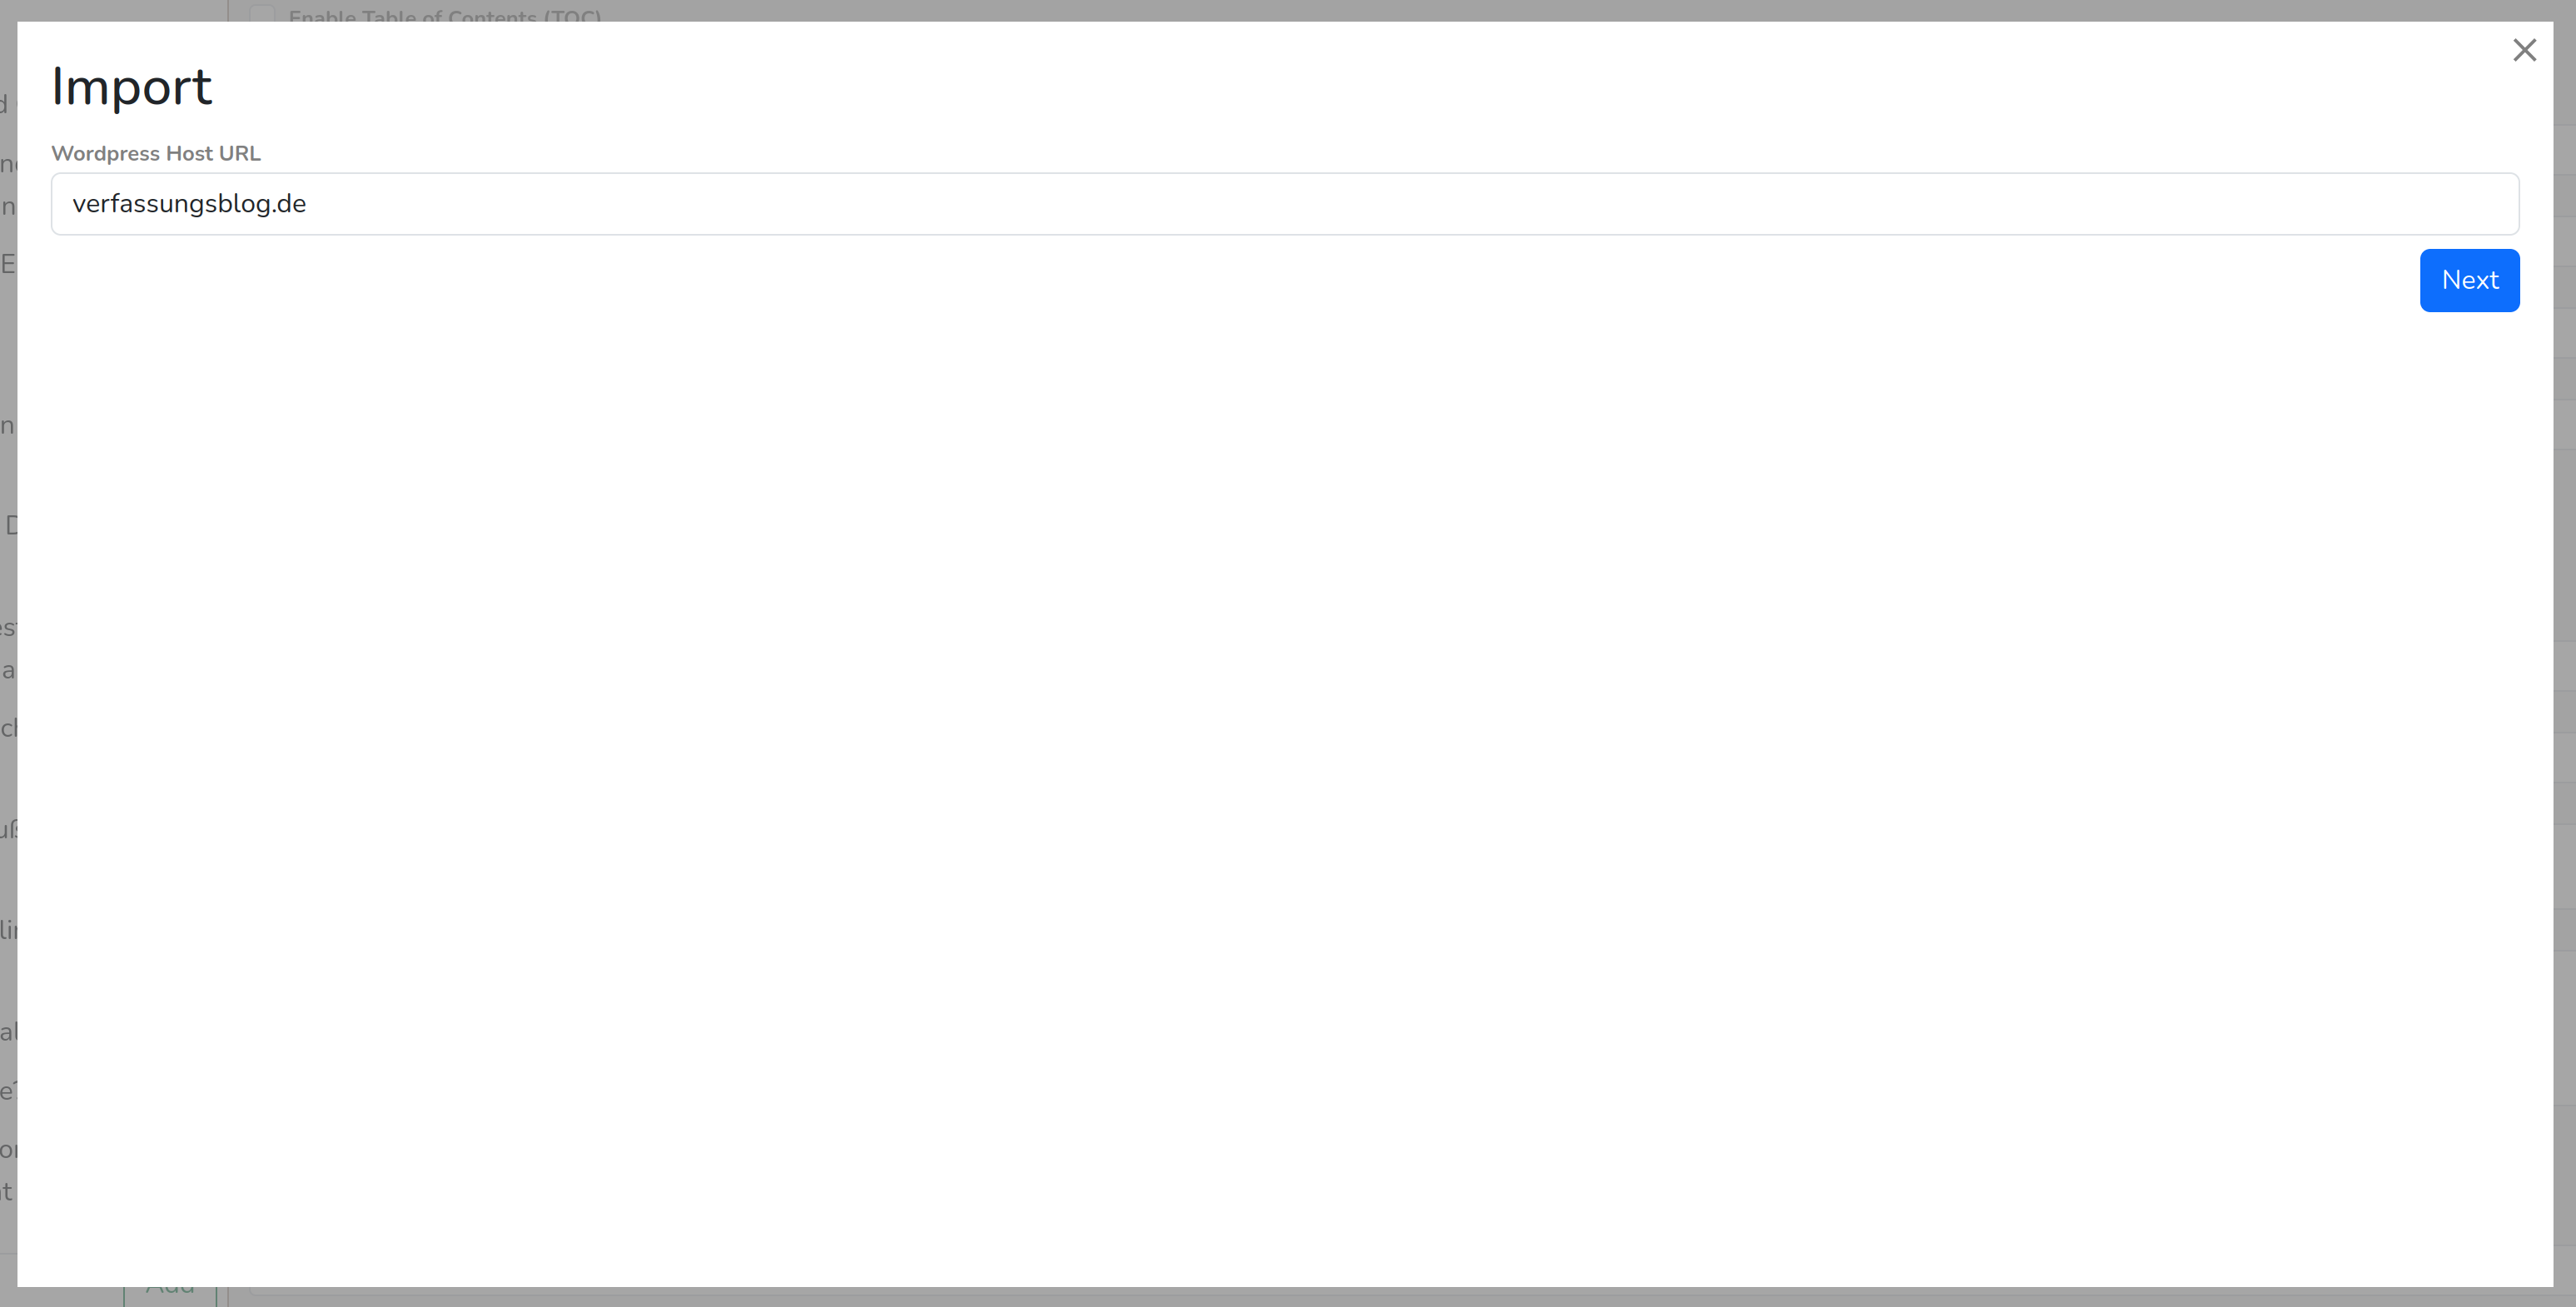
 ->→ "Filter Posts" in the import wizard.
Now fill in the WordPress host you wish to import from, e.g. "verfassungsblog.de". Do not include the protocol (https://)!
It may take a while to loadLoading all categories from the WordPress host,host may take some time, especially if there are many.
NowYou youcan arenow able to filterdefine which posts should be imported. There are three filter options:
i) Include Posts in Categories
If enabled, only posts which are included in at least one of the selected categories will be imported. Note that posts that are in a subcategory are not automatically added to the parent category. But you may use the recursive selectselection button before the checkbox of every parent category to auto-check all subcategories.
ii) Exclude Posts in Categories
If enabled, excludes all posts which are included in at least one of the selected categories. All other posts will be imported.
iii) Filter by Publish Date
If enabled, only posts will be included which matchwithin the specified time period.range will be imported. You may onlycan specify a beforestart ordate, afteran end date, or both.
On the lower left corner of the import wizard, you will see the number of posts that matchmatching your filters. It may showdisplay "N/AA" if you selected many categories,categories butare don'tselected. worry:This thishowever only affects the preview number, the import will bework fine.correctly.
Example 1:
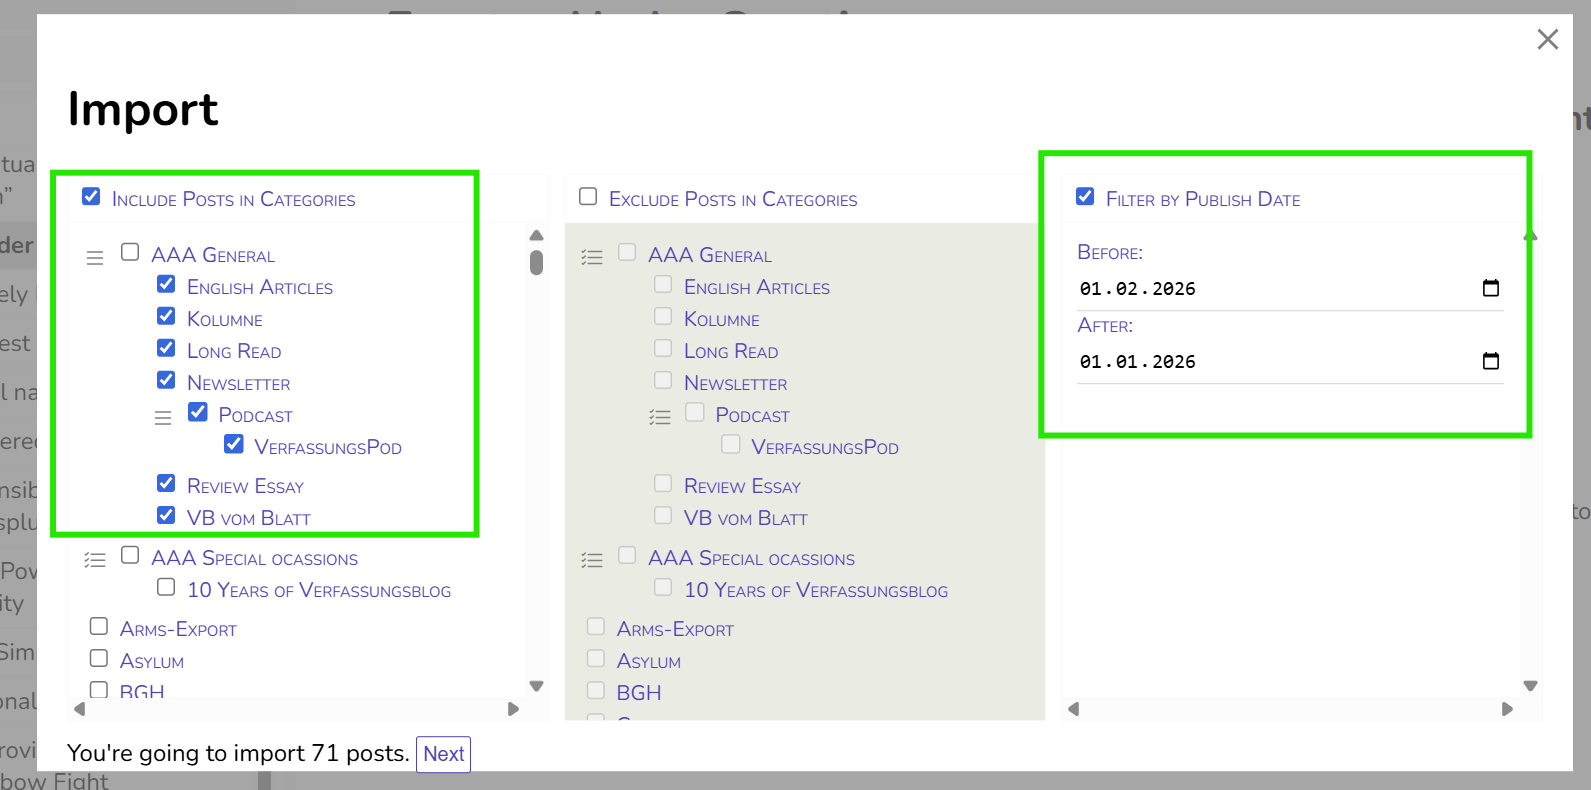
With these settings, all posts published in January 2026 and added to one of the sub-categories of "AAA General" (but not "AAA General" itself!) will be imported.
"After 01.01.2026" includes posts of the 01.01.2026,2026 (and onwards), "before 01.02.2026" excludes posts of the 01.02.2026 (i.e. stopsincludes atposts of 31.01.)2026)
After choosingclicking "Next", you can setconfigure the Importimport Settingssettings.
Example 2 (Verfassungsblatt):
To import all posts for tAfhe Verfassungsblatt, you would need these settings:
Exclude Posts in Categories:
Filter by Publish Date:
Before and After according to the issue of the Verfassungsblatt.
Settings for WordPress Imports
After selecting the filters or entering the links to import, you will can set these import settings:
If enabled, the author names are extracted from WordPress and added to the sections,sections. butOnly onlynames withare their names.imported. If you needrequire moreadditional datainformation for(e.g. theauthors authors,bio, ORCID, ROR, etc.), you have to create themperson profiles manually via the Persons“Persons” menu.menu (see Section "Getting Started: Project Creation, Metadata & Persons").
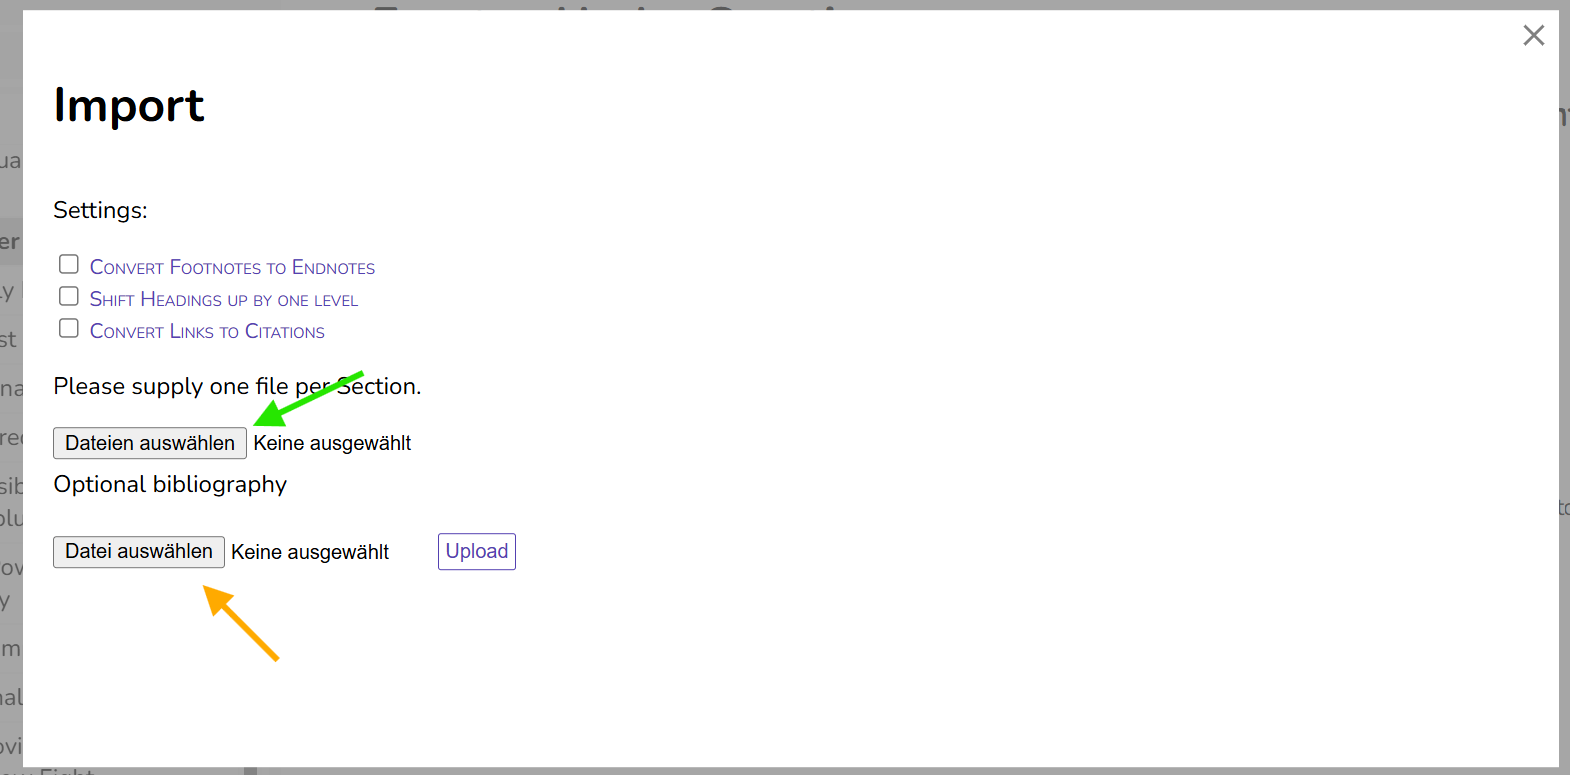
Convert Footnotes to Endnotes:
If enabled, it converts all extractedimported footnotes toare converted into endnotes.
Shift Headings up by one level:
If enabled, all heading levels are shifted upwards.up by one level. H2 becomes→ H1, H3 becomes→ H2 etc. MayThis may be useful,useful if the headings in the imported posts start with H2 instead of H1.
Convert Links to Citations:
TriesAttempts to convert all links in the posttext tointo citations viausing a Zotero Translation Server. If a link can'tcannot be converted, it willremains remainunchanged. in the post. Generally, it won't work with links leading to an PDF document andThis works best with static pageweb links.pages and generally does not work with links to PDF documents.
2. Import from Documents
You can also import content from documents, such as Word-Documents, LateX,LaTeX, OpenOffice, etc.
Via "Select Files/Dateien auswählen", you choose the document you want to import. Each document becomes a section in Publish Good.Goods. If you wantare to publishpreparing e.g. an edited volume,volume or a journal issue, it is recommendablerecommended to upload each chapterchapter/article inas separate files.
Currently, only one file per upload can be processed,processed. henceTo forimport importing severalmultiple files, you will need to repeat the process.
JustAs as like importing fromwith WordPress websites,imports, you can adjust theconfigure settings frofor thefootnotes/endnotes, importheading regarding Footnotesstructure, and Endnotes,link-to-citation the heading structure and converting Links to Citations.conversion.
If you want to use Publish Goods as citation management system (see here),system, you can also upload BibTexBibTeX files under "Optional Bibliography". For more on this see the section "Citation Management".
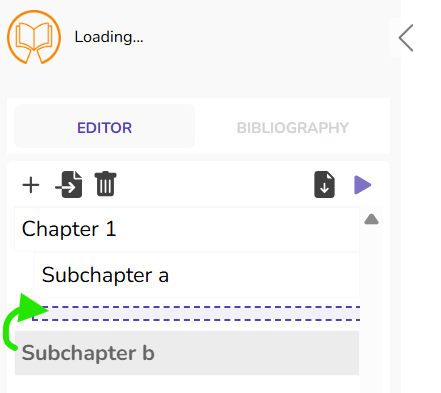
3. Organisation
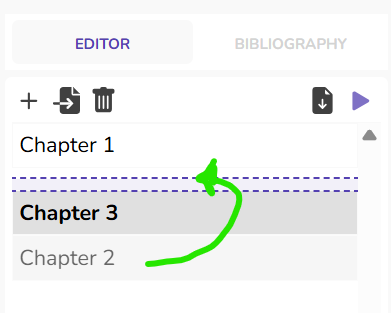
After importing your sections, you havecan importedreorder yourthem chapters, you easily change the order perusing drag-and-drop.
You can also structure your content using sections with chapters and sub-chapters:subsections.
Using subchapters requires using a respective css template.