
C. Citation Management
Publish Goods has an integrated citation mangagement system. It works similarly to programmes such as Citavi and Zotero: For each source, you create a citation file with all relevant information, e.g. title, author, year of publication, etc. After you link this citation to a certain sentence/word in your text, the footnote or endnote is automatically generated, based on the citation style that you determine for the entire project. This avoids typos and errors, ensures coherency and saves - especially in larger projects - much time. However, you can of course also simply add references in footnotes or endnotes by hand.
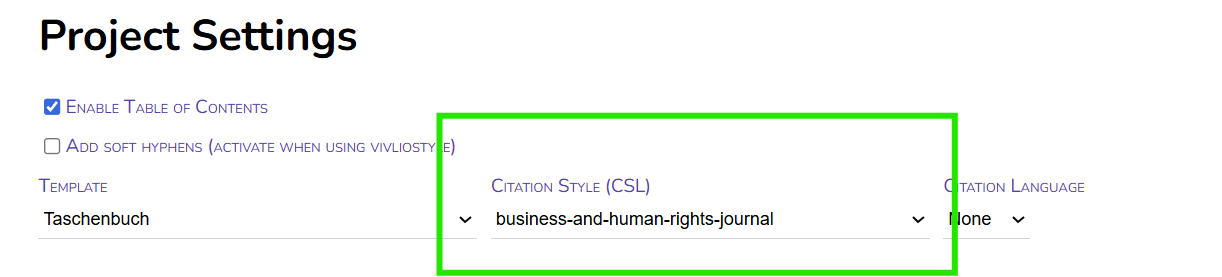
You can set and change the citation style in the project metadata.
1. Overview
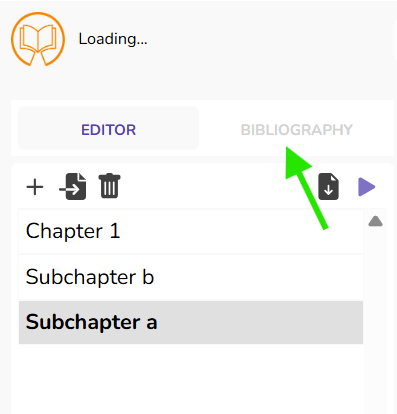 In the panel on the left, you can see two options "Editor" and "Bibliography". The functionalities of the Editor have been described above, here you can see all chapters, put them in different orders, etc.
If you switch to "Bibliography", you will see an overview of all bib-entries, i.e. the files for each source you are referencing.
2. Adding bib entries
Before we can add a citation in our text, we have to create a citation file, a bib entry first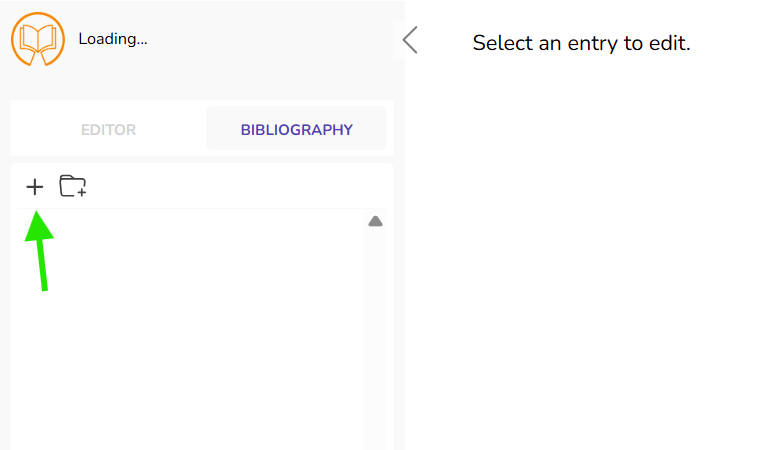
To create a bib entry, simply click on the plus.
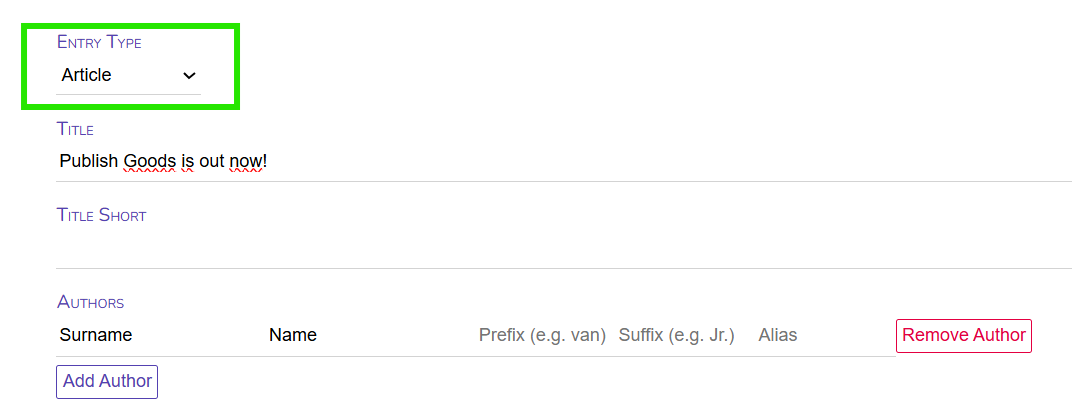
You will then see a form with various text fields to fill in:
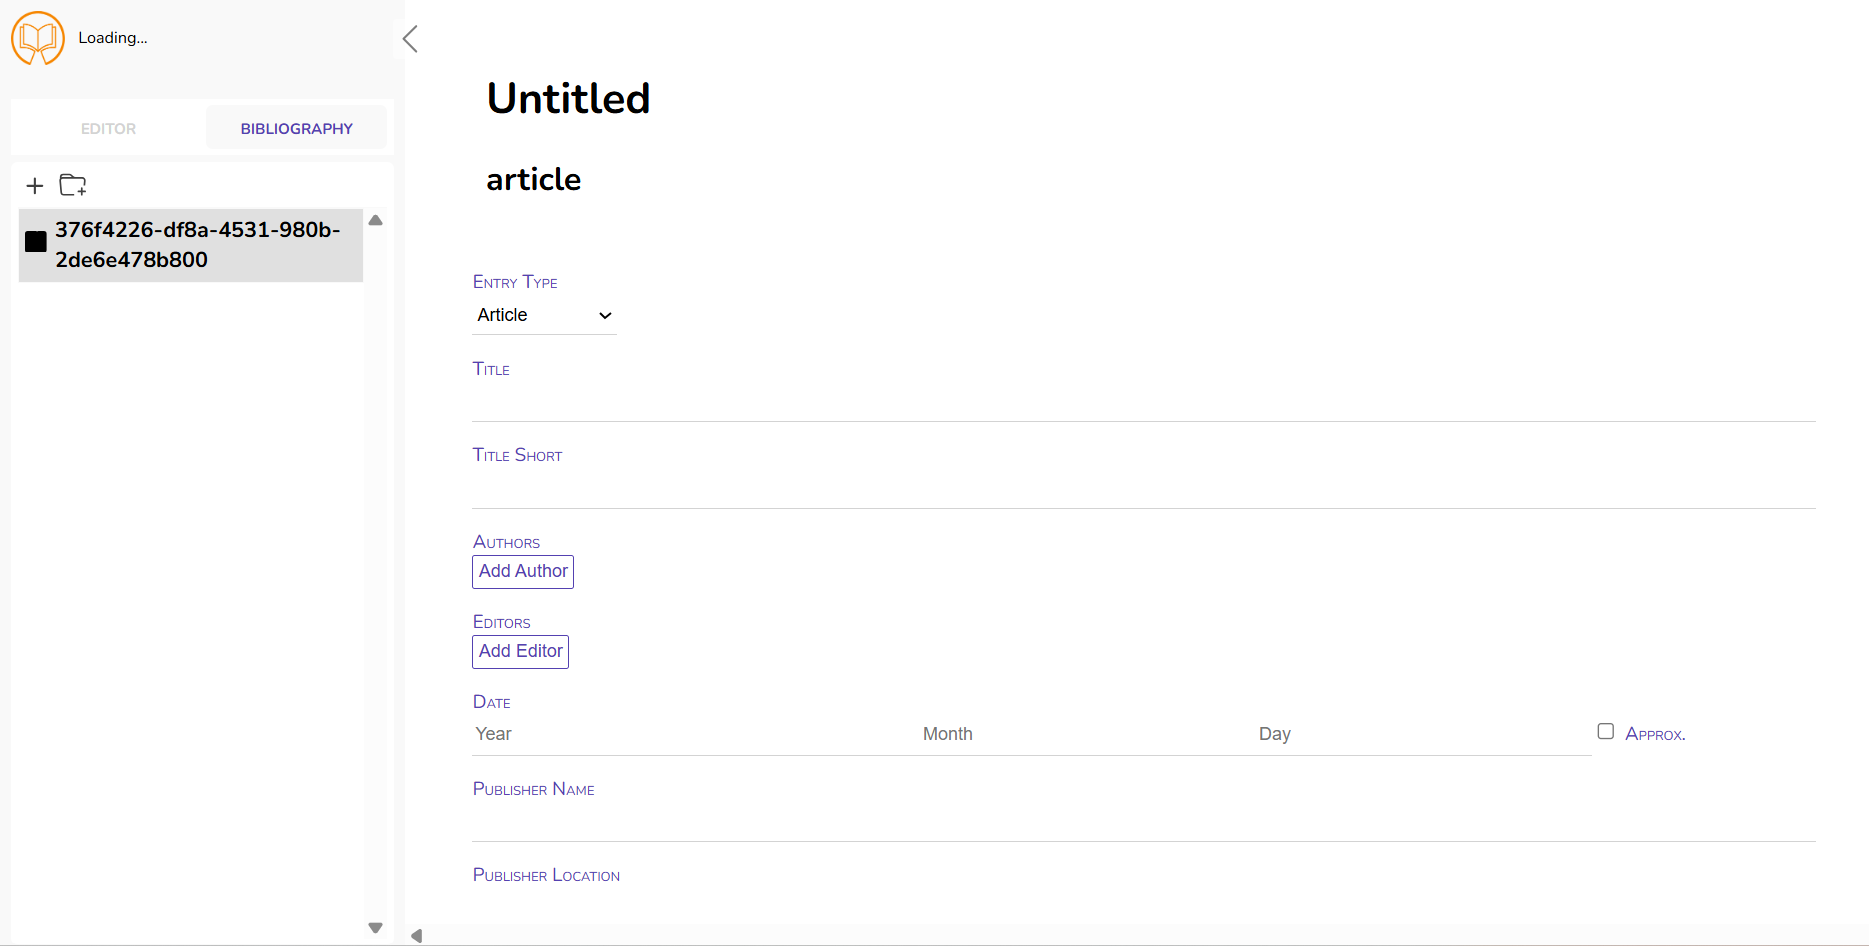
The information are largely self-explanatory. Usually, you won't need to fill in all information, for instance "Archive" is rather uncommon, or "Language" is also rarely indicated in citations. Moreover, not all informations are necessarily applicable, e.g. monographs won't have Volume/Issue number. Simply fill in those information, that you consider necessary, respectively those information, that are required by your chosen citation style.
Often articles, blogposts, etc. are published in something (e.g. a Journal, Newspaper, Blog, etc.). For this, you have to a) create a bib entry for the article (with a Title, Author, year, etc.), but also b) the medium (e.g. German Law Journal, Verfassungsblog, etc.).
A) B)
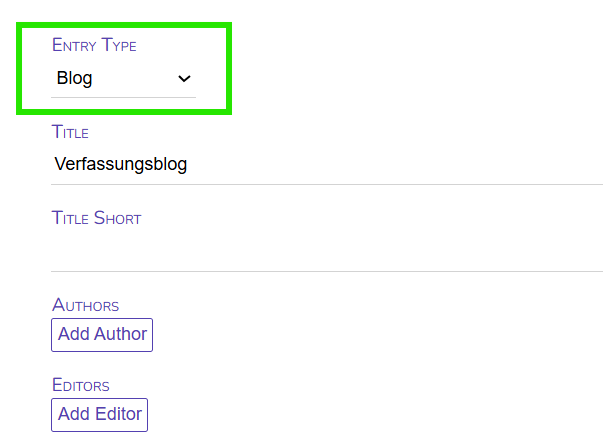
You can then allocate per drag-and-drop the article to the respective Journal, Blog, etc. This makes organising your citations much easier and avoids incoherences through diverging name usage (e.g. Verfassungsblog vs. VerfBlog vs. Verfassungsblog. On Matters Constitutional).
[BILD EINFÜGEN; WENN BUG GEFIXT]
3. Adding a bib entry through BibTex files
Instead of typing in all information by hand, you can also save some time by importing BibTex or RIS files.
Academic publications typically have persistent identifier, such as a DOI or ISBN. Simply copy such an identifier to a website like https://zbib.org/. The website than gathers all the metadata assigned to this identifier. You can then export and download these information (for one or several publications) as a BibTex or RIS file.
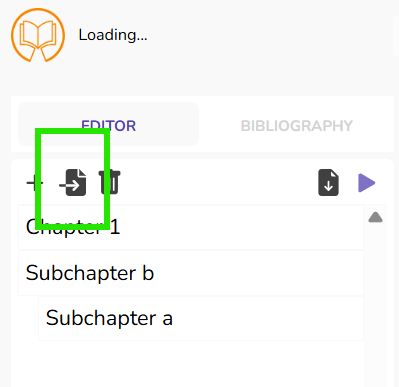
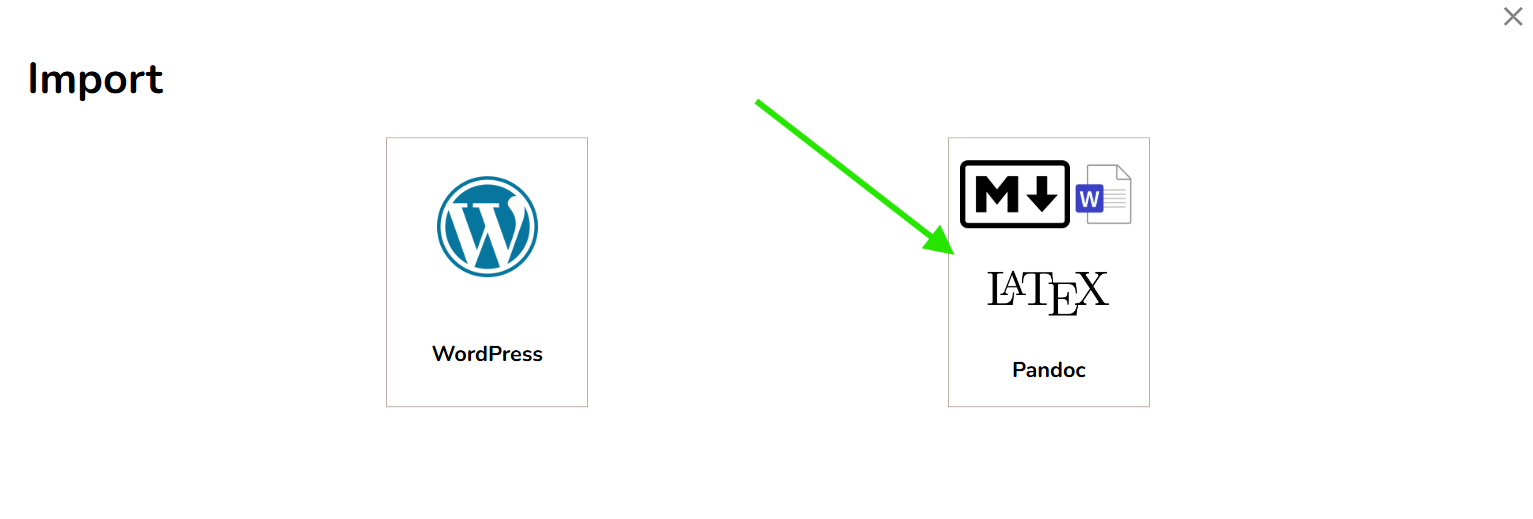
Via "Import" and the import option on the right hand side (Word, Latex, Pandoc)
 -->
-->
Under "Optional Bibliography" you now simply select your BibTex file and click on "Upload". The citations are now automatically imported into the Bibliography of your project.
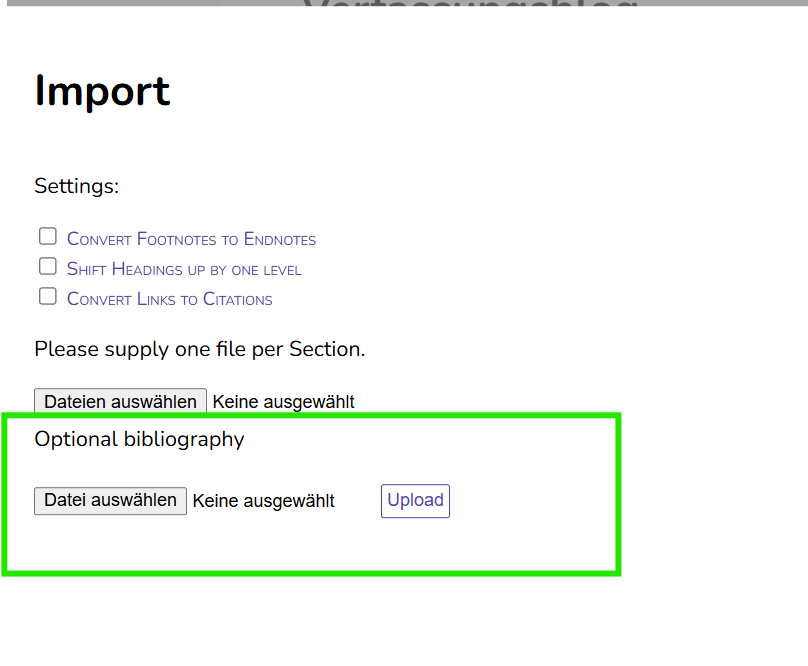
You might want to double-check these imported bib entry, to ensure that all information are indeed correctly imported, as not all metadata are complete or correct.
3. Adding a reference
Now after you have created or imported your bib entries into Publish Goods, it is time to actually add the references in your text.

Simply mark the point, where the reference should appear (E.g. at the end of a sentence.x) It does not matter, whether you mark only the colon or the entire last word. Then, you click on "Cite" in the appearing menu.
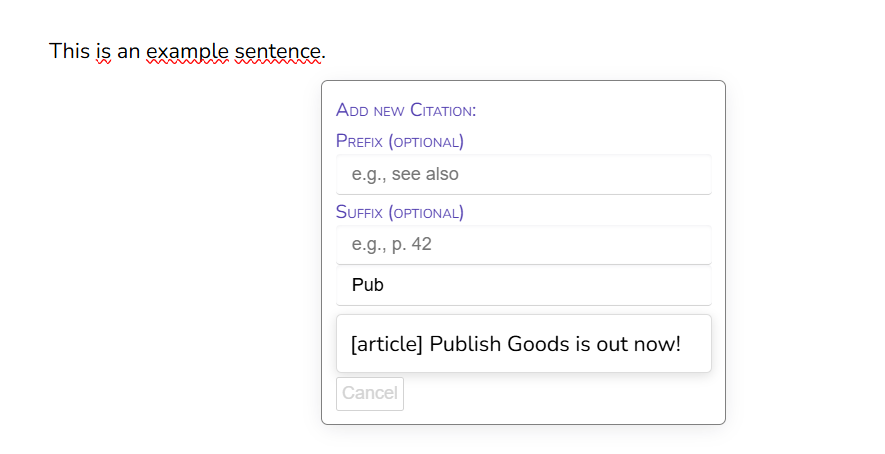 You can then select the bib entry you want to reference at the third text field. Simply type in the title or the name of authors/editors. You could also add a prefix or a suffix. This ensures that you can reference the same document several times, while also having the flexibility to adjust it each time by referring to a certain page, or adding a comment.
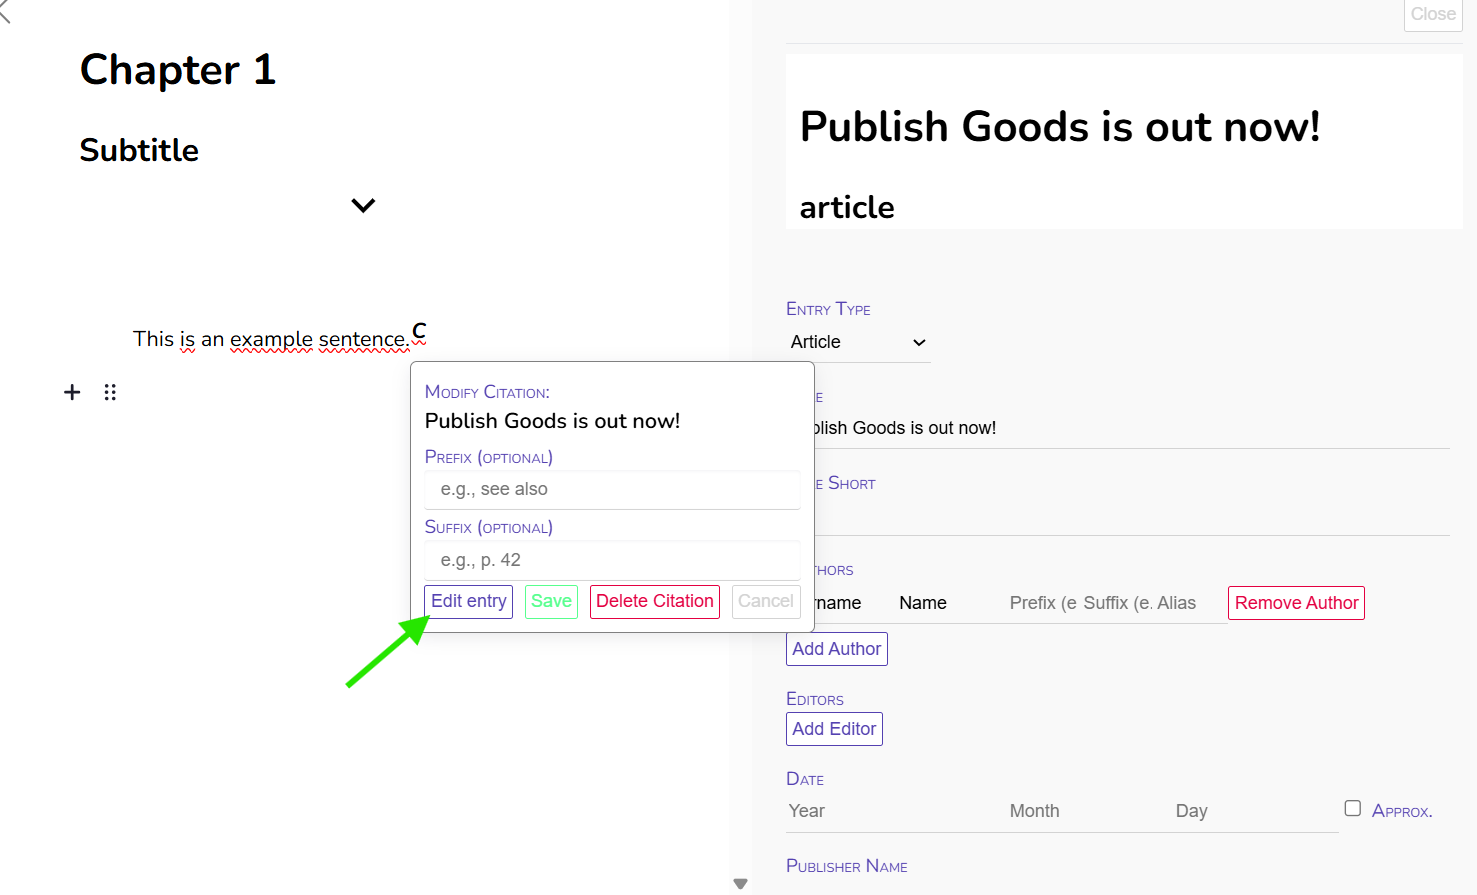 In case you want to edit the citation, add a pre- or suffix, or delete it altogether, simply click on the "C". From here, you can also directly edit the bib entry.
Editing the bib entry means you are editing all references to this entry. Not only the one reference you clicked on.
4. Adding Foot- and Endnotes
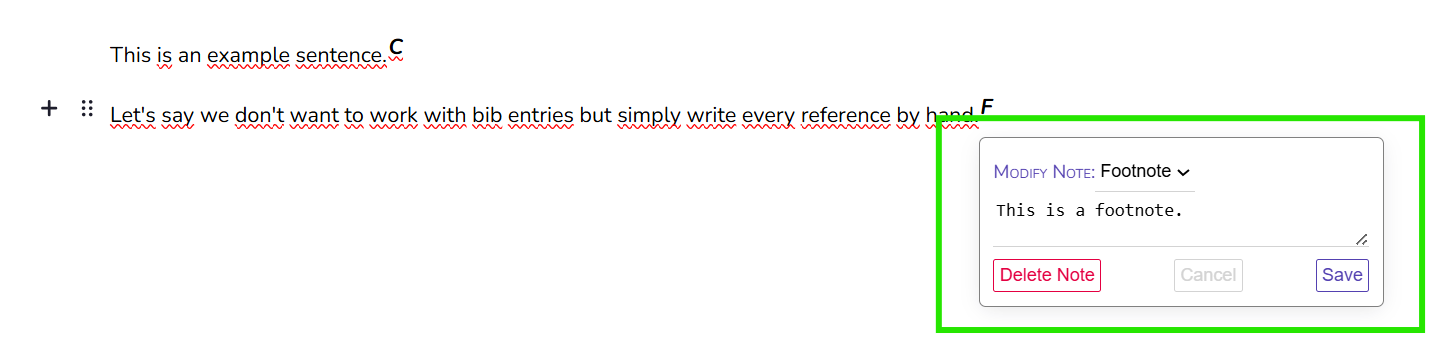
You can of course also simply add foot- and endnotes by hand, either for notes and comments, or if you prefer to write all references by hand. For this, simply mark the word where the Foot-/Endnote should appear.

You can now write your Foot-/Endnote in the text field. In the drop-down menu above you select whether the text should appear as footnote or as endnote.
You can use html tags in the footnote, e.g. to write in <i>italics</i> or <b>bold</b>. If you want to avoid a hyphenation a word, you cannot use a css class, but manually avoid the hyphenation by inserting a linebreak <br>.